Sunday, August 24, 2014

2000 Lexus GS300 Dual Climate Actuator Repair

My parent's old Lexus was blowing heat out of the passenger side even when set to full A/C "Cold" mode.  The repair was pretty simple.  The temperature is controlled by a set of doors that mix air coming across the heater core with air coming across the evaporator core.  The doors are controlled by actuators with built in position sensors.  To access the actuator, remove the footwell trim panel, open up the glove box, remove the glovebox by removing the screws, disconnecting the light bulb, and detaching the yellow air bag wire from the assembly.  Next remove the CD changer.

Trim Panel
Glove Box
Release Light and Harness
Remove the CD Changer

Next, you need to get the air duct out of the way.  Remove the retention screws and pull the duct out the car.

Once the air duct is out you have access to the actuator.

The passenger side mix door actuator can be seen here to the left of the heater tubes.
Passenger side mix door actuator can be seen by looking to the left of the heater tubes and
locating the yellow bushing partially obscured by the large white air duct.


The actuator is held in place with three screws.  I had to pull the heater tubes slightly to the side to access one of the screws.

Once the actuator was out I decided to try and repair it before buying a new one.  I opened the case by gently prying open the side latches (be careful, I broke a couple of tabs) and cleaned the resistive position sensing traces on the back side of the main gear.  I soaked q-tips in alcohol then held them against the underside of the large gear while spinning it around.  After several q-tips the residue eventually stopped coming off.  Now that the sensing traces were clean I used another q-tip to pick up a little dab of excess grease and smeared it on the underside of the newly cleaned gear.


Finally, I put the actuator back together and made sure it worked as expected (it did) before re-installing the rest of the parts.

---> Fixed in about 2 hours for free.


2004 Yukon XL (Suburban, Silverado, etc) Dual Climate Mix Door

The dual climate temperature control on our old Yukon has been getting worse and worse.  While driving the temperature will randomly change, usually drifting toward full heat mode which isn't very convenient in the middle of a Texas summer.  The temperature is controlled by a pair a doors that mix air coming across the heater core with air coming across the air conditioning evaporator.  The doors positions are controlled by motorized actuators and those actuators are where the problem lies.  

The actuator for the driver's side is relatively easy to access and repair/replace.  On the passenger side, remove the black cover underneath the glove box above the footwell by removing the three screws.  The left one is ridiculously hard to access but I was able to eventually get it out with a 6mm deep socket and a 1/4" drive ratchet.
Passenger Side with Cover Removed
Driver Side Mix Door Actuator can be seen on the left with the little red wiring connector

Once the cover is off the actuator can be removed with two screws then just pull down to slip it off the door shaft.

The passenger side actuator is whole different story.  The factory replacement procedure goes something like this: "remove the dashboard, remove the air conditioning controls, remove the radio, remove the air bag (be careful!), remove the OnStar controller, now you can access the actuator."  If you Google how to replace the passenger side mix door actuator on this platform of vehicle, you'll find a simpler process advocated in various forums that goes something like: "Take the truck out into a field, pour gasoline on it, strike a match (be careful!)."

Since neither of those alternatives sounded like what I wanted to tackle on a Saturday morning, I took a different approach.  If you pull the glove box stop tab back and let the door flop down out of the way and look up towards the center of the vehicle, you can see the passenger side actuator sitting on top of the air box assembly.  I turned the temperature up and down, fan off and on, etc until I was pretty sure that the mix door was closed in the full air conditioning position.  At that point, I took an extra long screw driver and pushed up and in on the wiring harness connector latch to disconnect the wiring.  

Looking up and towards the center of the truck through the glove box (with it out of the way)
The actuator can be seen with the bar code sticker.
The wiring connector can be disconnected with an extra long screw driver reaching up from the bottom.
 My passenger side now has no possibility of heat, but in Texas that is much preferable to not being able to turn off the heat.  In the summer I'll have A/C on both sides and in the winter I'll only have heat on the driver's side

--->  Fixed (good enough) in about 90 minutes for free.

LED Aquarium Light

My daughter's LED Aquarium light quit working and she asked us to take her to the store to buy a new one.  However, since "Anything Can Be Fixed," I recommended we go that route instead.

 Once we used a digital multi-meter to confirm that the power supply was working, we removed the six screws and took the cover off to check the switch output.  The switch was somehow defective and no voltage was getting past the switch in any of the three positions.  We decided to just bypass the switch so we pried open the switch case, removed the corroded slider, and used a jumper wire to determine which output terminal was "On-Full" and which was "On-Low."  After determining the right terminal we used a soldering iron to place a glob of solder bridging the input terminal to the On terminal.
Switch Case Pried Back, Slider Removed, Solder Added


---> "Fixed" (good enough) in about 15 minutes for free.

Kenmore (Whirlpool) Washing Machine Agitator

We recently noticed that the agitator in our old Kenmore 70 Series washing machine was no longer rotating.  We've had this same basic model of washing machine for 25 years so this is a repair I'm pretty familiar with.
First, remove the fabric softener dispenser by pulling up on the blue ring.
 Next, pop off the top cover of the agitator.  There is a small slot where you can use a flat headed screw driver to pry off the cover.
 Once the lid is off you can see the clutch with the 4 worn out dogs.
Clutch with worn out dogs
  Use a socket and extension to remove the retainer bolt and lift the entire agitator out of the washer.  You can just grab the clutch assemble and pull it off the agitator.

View from underneath the agitator assembly
Once you have the retainer assembly removed the new clutch dogs just drop down into the slots

Retainer Assembly with New Dogs Installed
 Next just snap the assembly back together
Reassembled Clutch with New Dogs
 Then place the agitator back in the washer, install the retainer bolt, cover, and dispenser.

---> Fixed in about 15 minutes for about $4.


Bearing replacement on a B668 auxiliary pool pump

Our robot pool cleaner uses a Pentair Universal Booster Pump with a B668 motor and recently it began to squeal with the sound of a bearing going bad.  It was so loud you could easily hear it inside the house whenever the pump was running.

The motor is variously known as an AO Smith Century Centurian Motor, a part #7-187400, a B668 motor, or a Pentair Universal Booster Pump Motor and is a very common motor for pools and spas.


To fix it, I first disconnected the electrical service by shutting off the circuit breakers, unplugging the two blue hot wires, and unscrewing the green ground wire from the back of the motor.  Then after disconnecting the conduit, pulled the wires clear of the motor.
Back of motor with electrical access panel

Electrical Connections


Second, I removed the 8 nuts holding the two halves of the pump together so I could take the motor into the garage without disconnecting any plumbing at the pool.


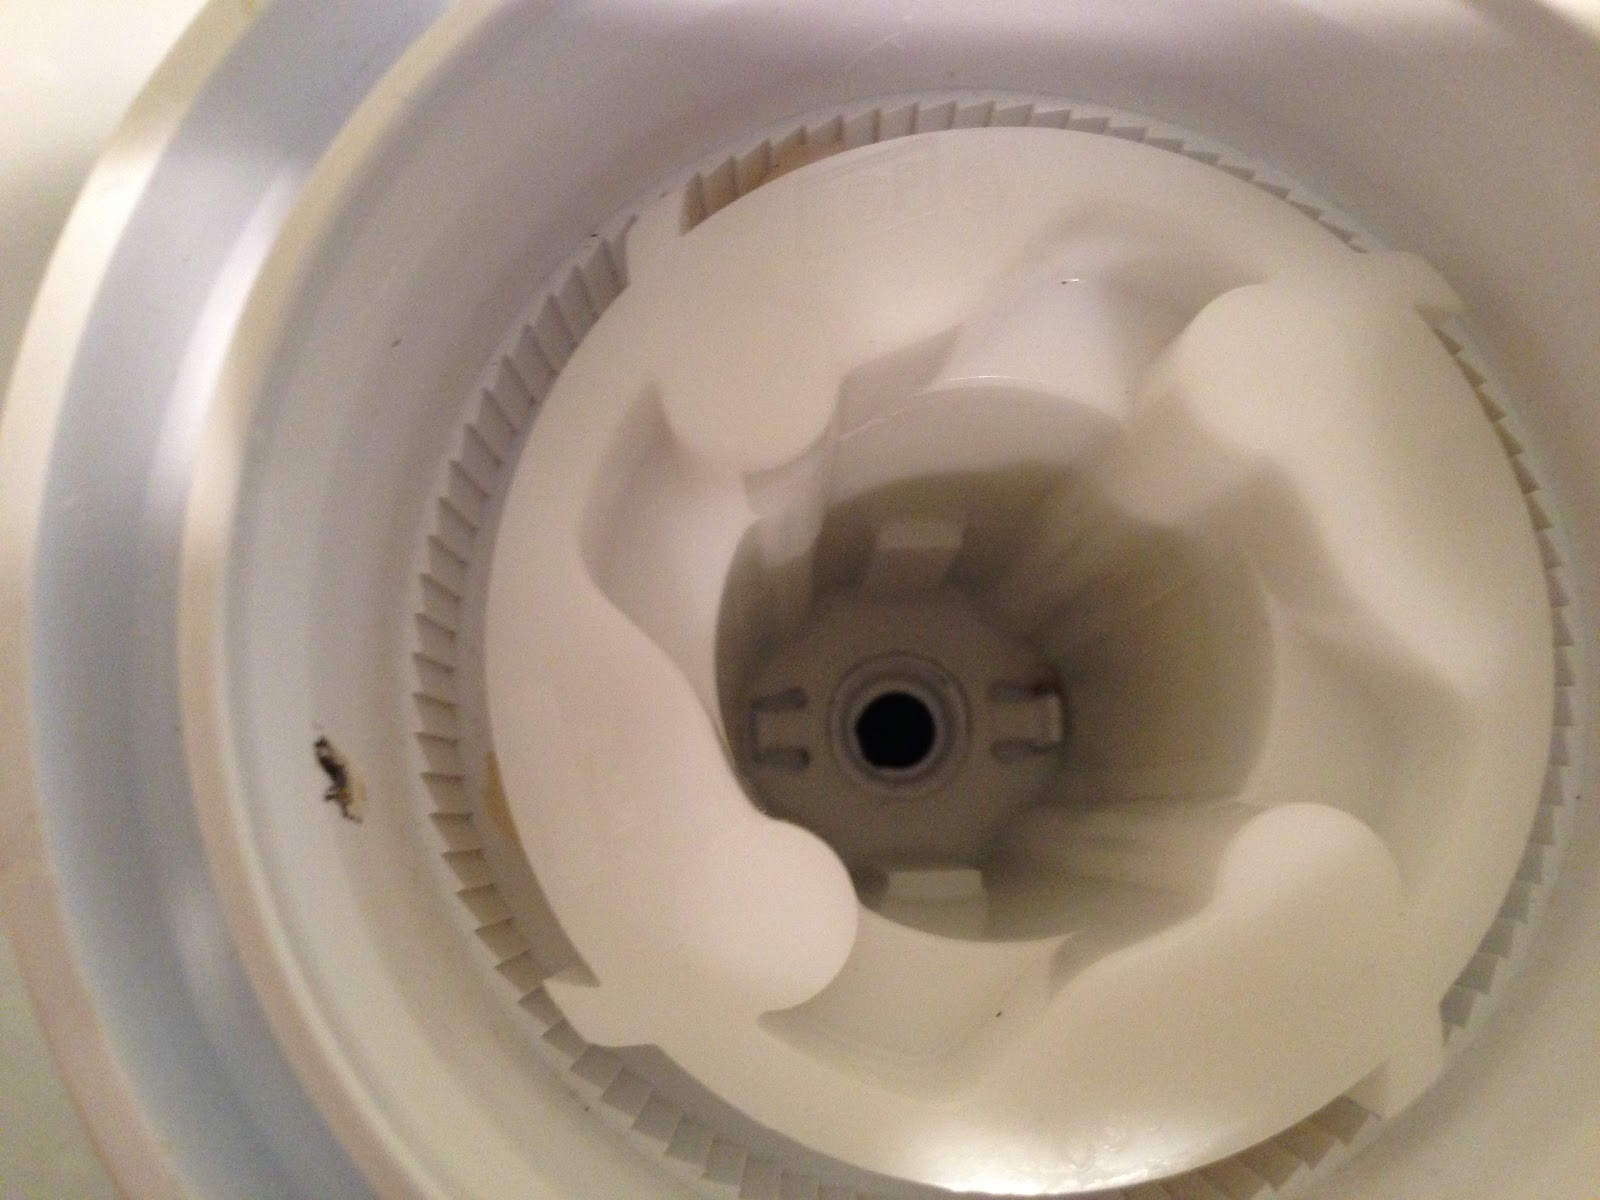
Next, I removed the pump impeller by holding the back end of the shaft with a wrench and unscrewing the impeller from the front end of the shaft.
Cap removed to reveal back end of shaft
Pump impeller ready to be removed


Finally, I removed the front pump housing from the motor and shaft.   Then after removing the four long through-bolts from the back of the motor and pulling the shaft/motor cap assembly out clear I noticed that there is a bearing retainer on the back side of the front motor cap.  At first I tried to loosen the retaining bolt head recessed in the motor cap but it was frozen solid.  Eventually I figured out that I could just take a screw driver and rotate the retainer out of the way from the underside.

Recessed Bearing Retailer Screw
To remove the worn out bearing without an arbor press (I should have just gone to Harbor Freight and bought one) I used an open ended wrench and a hammer to beat on it until it finally started to move. 


After the bearing and spacer ring were off I cleaned up the shaft ahead of the bearing with a flapper wheel and then polished the seal surface with some buffing compound on a buffer wheel.


Shaft after Polishing
After tapping the new bearing and the spacer into place, again with an open ended wrench and a hammer I moved over to replacing the shaft seal while I had everything apart.


To remove the old shaft seal I just tapped it out with a large screw driver and a hammer.  To seat the new seal, I used an old piece of pipe I had sitting around with the right diameter to clear the floating seal and engage the rim of the housing.

From there everything just went back together the same way it came apart.

----> Fixed in about 3 hours for about $10 ($5 for the new bearing, $5 for the new shaft seal)