Saturday, February 15, 2014

Schlage Electronic Deadbolt

My parents have a Schlage electronic deadbolt (theirs is a BE369 with a Z-Wave radio but this also applies to the BE365 without a radio as well as the FE599 and FE595 lever locks) and were complaining about a couple of buttons that wouldn't always work properly anymore.  The fix was quick, easy, and free.

First, remove the interior cover by removing the two screws.

Next, unscrew the two bolts holding the two sides of the lock together.

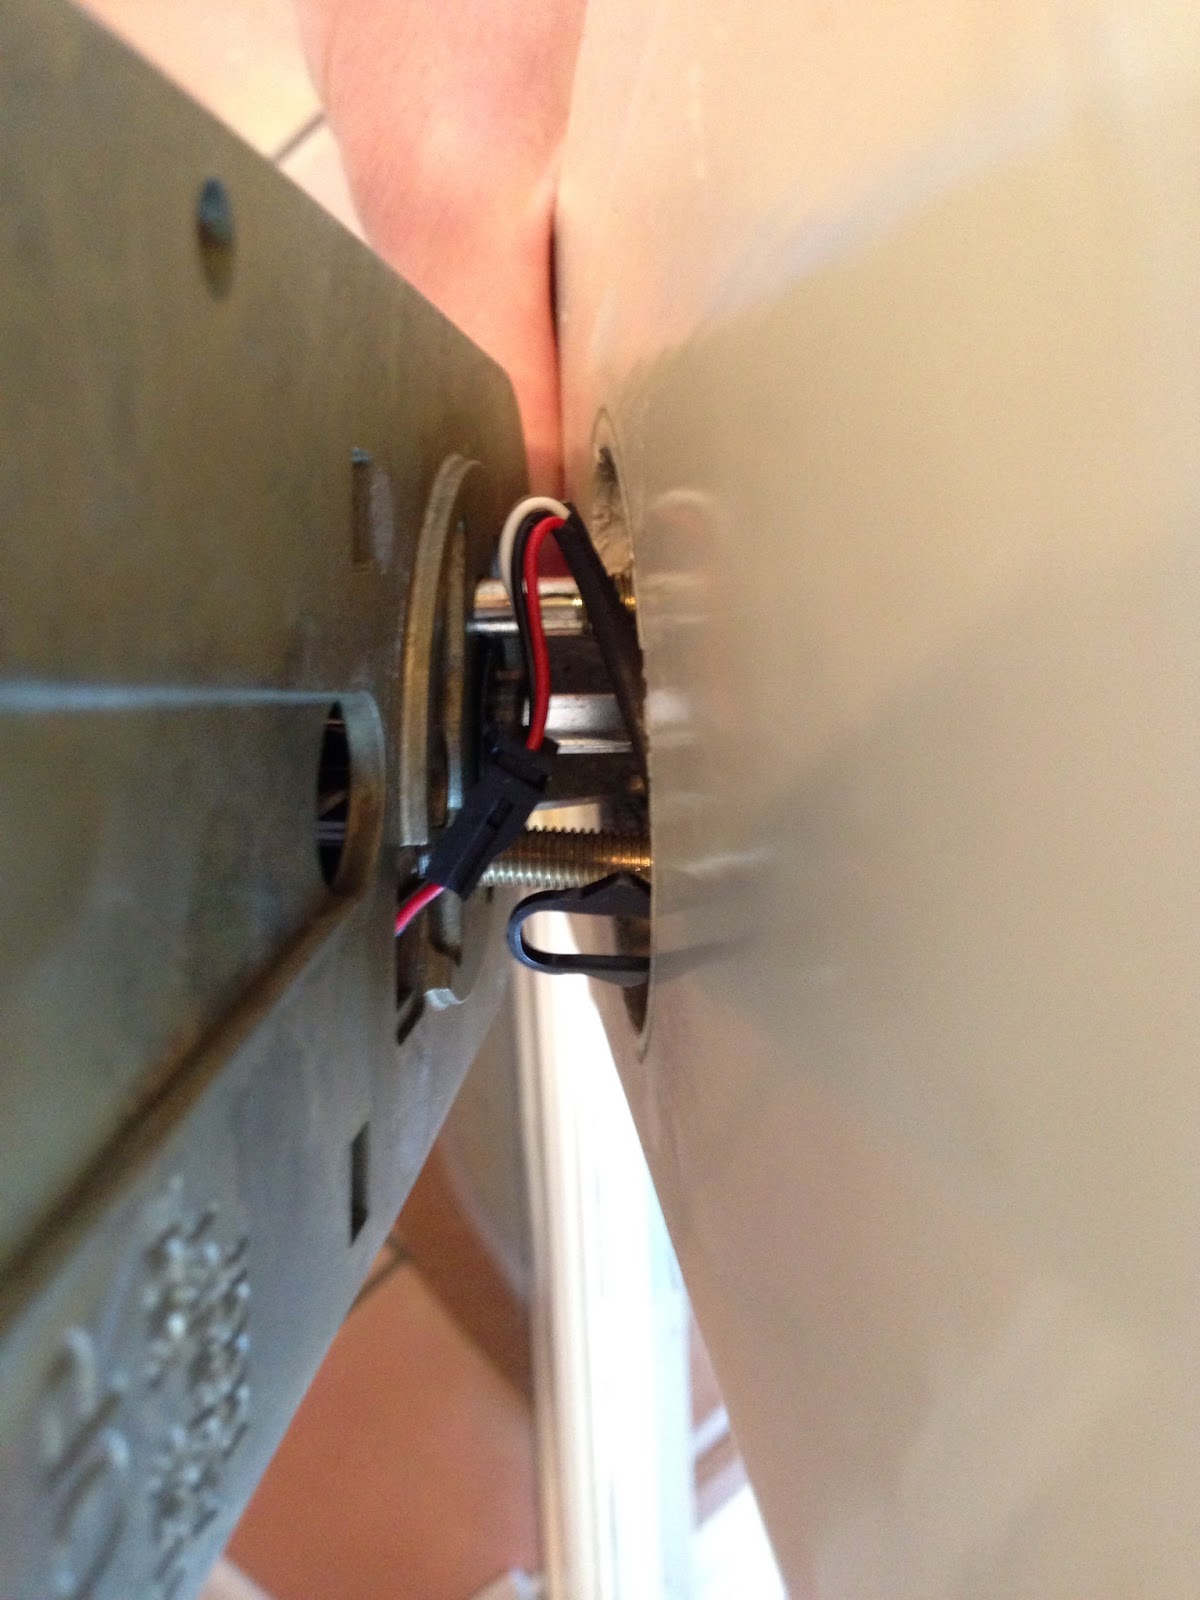
Unplug the wire connecting the outside to the inside and remove both sides from the door.

Remove the six screws attaching the outside housing

Lift off the silicon keypad cover to reveal the circuit board underneath.

On the circuit board below the keys, you can see the residue on several of the button pads.  I didn't have any alcohol or electronics cleaner handy but I did have some brake cleaner so I squirted a little bit of brake cleaner into the spray can cap, dipped a q-tip in the cleaner, then just wiped off the residue.
Before
Residue Removed from Circuit Board
After


After everything was put back together, it works just as good as new.

----> Fixed in 15 minutes for $0


Sunday, February 9, 2014

Replacing a rear turn signal lamp on a Jeep Grand Cherokee

At 36,00 miles my 2012 Jeep Grand Cherokee left, rear turn signal went out.   It was very simple to replace.   (This also applies to 2011 and 2013 models)

1.  Acquire a 3057 replacement bulb
2.  Open the tailgate


3.  Use a flat blade screw driver to pop out both  retainer pins.

4.  Pull the whole tail light assembly straight back


5.  Rotate the bulb holder to the left and remove from the assembly

6.  Pull the old bulb straight out
7.  Push the new bulb straight in
8.  Reinsert the holder and rotate it to lock it back in place (an arrow and the word "lock" are molded in the housing if you forget which way to turn it.
9.  Line up the two rear alignment pins (the two black posts towards the back of the assembly) with the two sockets in the car panel and push the assembly straight forward (towards the front of the car) to seat it securely back in place.
10.  Insert the two retainer pin bases, then push the two pins in place.

---->  Problem solved in 5 minutes for $5